
Tired of soggy crusts? Here’s how to achieve crispy, golden pastries
Are you frustrated with pie crusts that lose their crispness after just one bite? You’re not alone. With a few simple techniques, you can ensure your tarts come out perfectly golden and delightfully crunchy every time. Follow this guide to uncover the secrets behind successful savory and sweet pastries, and say goodbye to sogginess for good.
Why does pastry become soggy?
Often, the culprit behind a soggy crust is excess moisture from the filling. Juicy meats, un-drained vegetables, or overly runny sauces can all contribute to the problem. When the pastry comes into prolonged contact with moisture, its texture suffers.
Temperature also plays a critical role. Baking a pastry in a lukewarm oven or cooking it too slowly prevents the necessary thermal shock that helps it rise and brown properly. Additionally, the type of pastry matters—puff pastry doesn’t absorb liquids the same way a shortcrust does.
Rules for a truly crispy crust
These tips apply to all recipes—follow them, and you’ll notice a significant improvement.
Choose the right pastry
- Puff pastry: Perfect for achieving a light, flaky texture. It should remain cold before baking.
- Shortcrust pastry: More rustic and better suited for rich fillings like cream or eggs. For very moist tarts, opt for shortcrust or pre-bake the base for added stability.
Moisture-reducing techniques
- Pre-cook and drain wet ingredients: Sauté vegetables until moisture evaporates, and drain the filling on paper towels to remove excess liquid.
- Thicken sauces: Use flour, cornstarch, or a reduction to create a less runny filling that won’t seep into the pastry.
- Blind baking: Prick the pastry, cover it with parchment paper, and add weights. Bake for 8–12 minutes to create a dry barrier.
- Egg wash: Brush the inside of the pastry with beaten egg white to form a protective film after baking.
Cooking and assembly tips
Keep your pastry and butter very cold, and work quickly. A brief chill between shaping and baking helps maintain the pastry’s structure. Preheat your oven to a high temperature; start baking at 200°C (392°F) for 10 minutes, then lower to 180°C (356°F) to finish. This method promotes browning and minimizes moisture absorption.
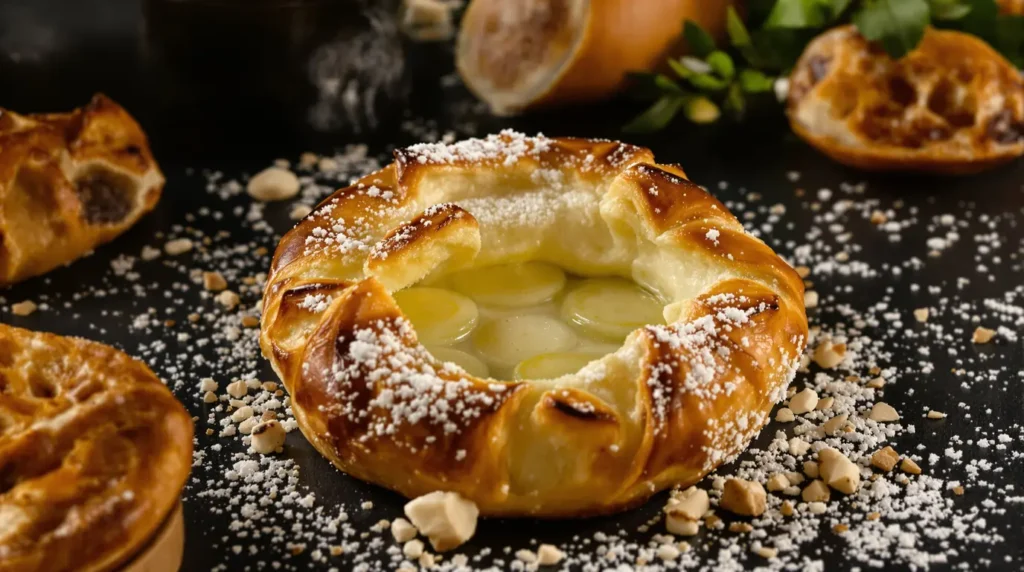
Recipe: Leek and chive cream tarts (serves 4)
Preparation: 20 minutes
Cooking: 35–40 minutes
Difficulty: Easy
Cost: Budget-friendly
Ingredients:
- 2 discs of ready-to-use shortcrust pastry (or homemade, ~300 g each)
- 3 medium leeks (about 500 g)
- 200 ml thick cream
- ½ bunch chives (about 15 g)
- 1 egg yolk for glazing
- 1 tablespoon olive oil
- Salt and pepper
Utensils:
- 4 individual tartlet pans (10 cm each) or one 24 cm tart pan
- Pastry brush
Steps:
Preheat your oven to 180°C (356°F). Clean the leeks and slice them thinly.
In a skillet, heat the olive oil and sauté the leeks for 8–10 minutes over medium heat until tender. Season with salt and pepper, then drain on paper towels to remove excess moisture.
In a bowl, mix the cream with chopped chives. Fold in the warm leeks and adjust seasoning to taste.
Cut 8 discs of pastry, each 10 cm in diameter. Place 4 discs in the lightly greased tartlet pans, pricking the bottoms.
Distribute the filling evenly among the bases. Cover with the remaining discs, pressing the edges to seal. Make a small slit on top to allow steam to escape.
Brush with beaten egg yolk. Bake for 35–40 minutes or until beautifully golden.
Let cool for 5 minutes before unmolding. Serve warm for a delightful contrast between the creamy filling and crispy crust.
Storage, reheating, and common pitfalls
To maintain crispness, reheat the tarts in the oven for 10–15 minutes at 160–180°C (320–356°F). Avoid the microwave, as it will soften the pastry. You can freeze the cooked tarts; simply refrigerate them for 24 hours before serving or reheat directly in the oven.
Common mistakes include overfilling the pastries, neglecting to drain ingredients, or baking at too low a temperature. Avoid these pitfalls, and you’ll succeed every time.
Now you’re ready to create tarts that stay crispy until the very last slice. A touch of technique, a bit of care, and the magic will unfold at your table.